HelioMet
April 10, 2019
DuroMet
April 10, 2019MicroMet
₨0.00
Non-destructive and precise measurement of layer thickness
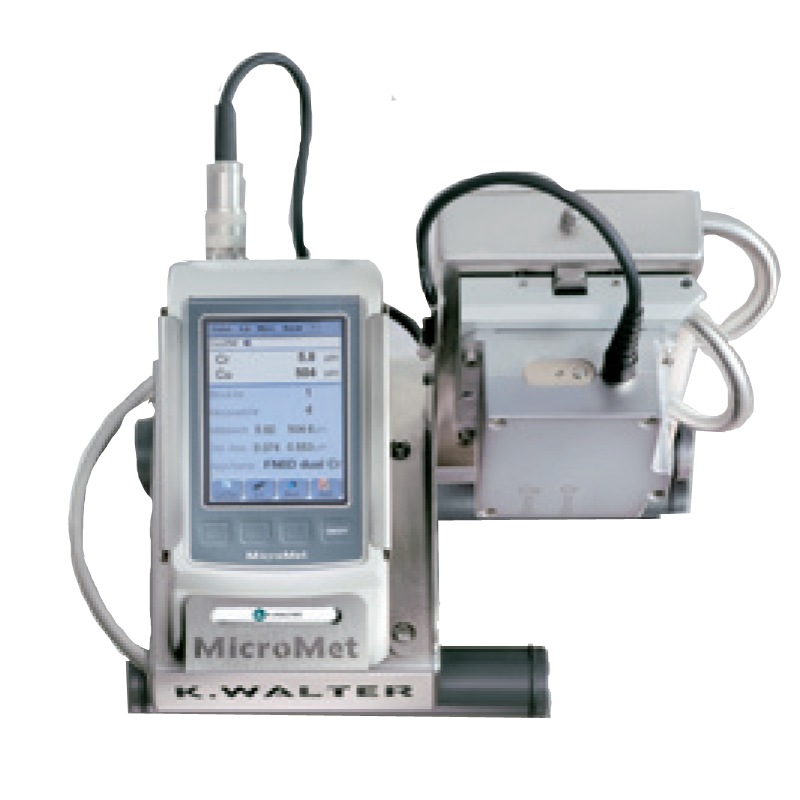
The MicroMet has been specially developed for gravure printing and optimally fulfills high market demands for relia bility, speed and ease of use.
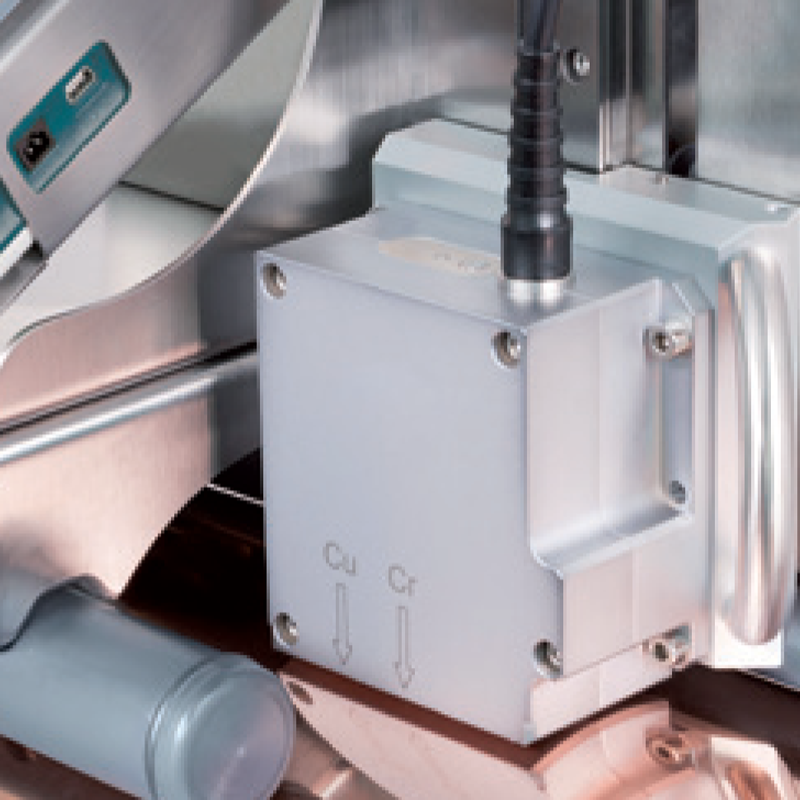
Every printer or cylinder manufacturer in the gravure printing industry needs to determine layer thicknesses. The MicroMet enables fast, reliable and above all, nondestructive measure ment. The core of the device is the dual probe that can measure copper and chrome layer thickness in one step.
MicroMet is suitable for controlling incoming and outgoing cylinders as well as for damage analysis. It rapidly deter mines layer thickness with much more precision than conventional devices.
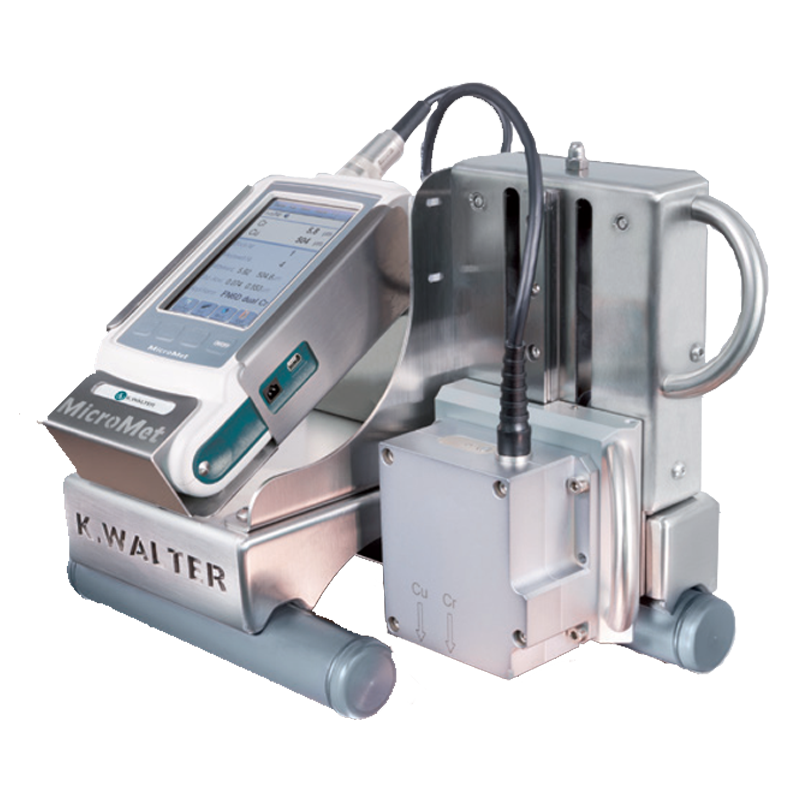
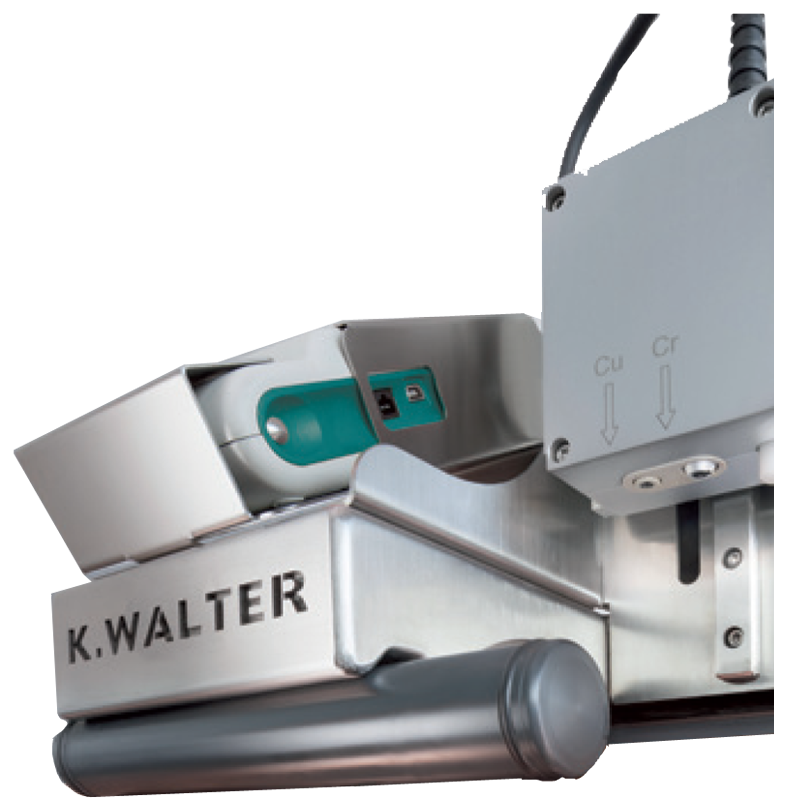
The specially developed chassis guarantees precise probe guidance and centered positioning on the cylinder. The high level of reproducibility of the determined values creates pro duction security; the touchscreen and intuitive menu naviga tion enable easy usage.
Overview of features:
Nondestructive measurement>
Dual probe for determining copper and chrome layer thickness in one step
Extremely fast, reproducible measurement results
Highprecision determination of values
Specially developed chassis for precise probe guidance and centered positioning on cylinder
Can be used on all common cylinder circumferences
Handy and robust
Easytoread display and intuitive user guidance
Technical data:
Display: Graphic display / touchscreen in 8 languages: DE, CZ, GB, ES, FR, IT, PL, TR
Measurable layers: Nonferromagnetic layers (NF) on steel or iron (Fe), electrically nonconductive layers (Iso) on nonferromagnetic metal base materials (NF)
Measurement Cr/Cu (eddy current method): Measuring range 0 20 μm; accuracy to 20 μm: ≤ 0.4 μm; repeatability (n=5 EW) to 20 μm: ≤ 0.15 μm
Measurement Cu/Fe (magnetic method): Measuring range 0 7000 μm; accuracy: a) to 200 μm: ≤ 2 μm, b) 200 3000 μm: ≤ 1 % of the measured value, c) 3000 7000 μm: ≤ 3 % of the measured value; repeatability (n=5 EW): a) to 500 μm: ≤ 2 μm, b) 500 3000 μm: ≤ 0.4 % of the mean value, c) 3000 7000 μm: ≤ 1 % of the mean value
Dimensions in mm: 290 x 160 x 240 (L x W x H)
Weight: approx. 3.9 kg
Power supply: Battery pack 2100 mAh, 110 – 230 V plugin power supply unit
